November 2026
Vintage clothing size guide: measurements, ease, and era fit
A vintage clothing size guide built on real measurements: how to read tags, add the right ease, and understand era proportions before you shop vintage online.
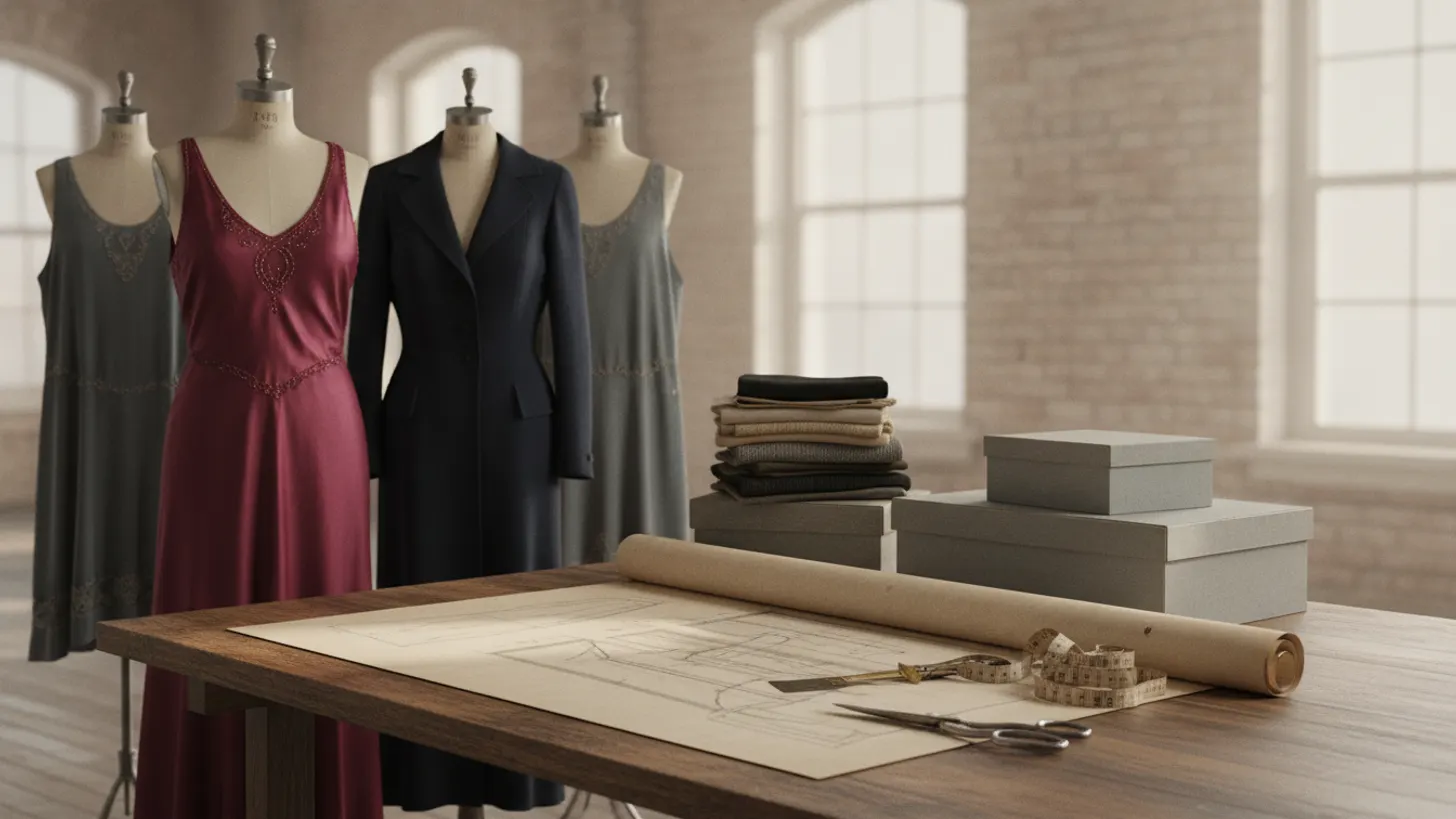
The Fashion Institute of Technology reports that roughly 70% of US adults wear plus sizes, while only 19% of retail revenue came from plus sizes as recently as 2022. Sizing has never described bodies accurately, and vintage labels are worse. A vintage clothing size guide that works starts with the tape measure, the garment's flat measurements, and the ease its era assumed. The tag number is the last thing to trust.
Why vintage tags mislead, and where a vintage clothing size guide starts
Because the number on the tag belonged to a different system and a different drafted body. A 1960s size 14 was graded to proportions no current label uses. Any working vintage clothing size guide treats a printed size as a date clue, not a fit promise, and goes straight to the tape measure.
Two things drifted at once. Voluntary commercial sizing standards were withdrawn and brands moved to house blocks, so a 1972 size 10 and a 2026 size 10 are unrelated documents; The New York Times reporting on American clothing sizes has followed that drift for years. Meanwhile the bodies being dressed changed. The Fashion Institute of Technology reports that roughly 70% of the US adult population wears plus-size clothing, while only 19% of retail revenue came from plus sizes as recently as 2022. No single label number carries that much history.
So the method in this vintage clothing size guide is comparison, not conversion. Ask for flat measurements taken on a table, write down your own four body numbers, and add the ease the garment type needs. The Vintage Fashion Guild's label and sizing resources make the same case: a label tells you when and where a piece was made, which tells you how it was cut, not how it will sit on your shoulders.
Which measurements to take first
Take four on yourself and six on the garment. On you: bust, natural waist, full hip, and shoulder width. On the garment, measured flat: pit to pit doubled, waist doubled, hip doubled, shoulder seam to shoulder seam, sleeve from shoulder seam to cuff, and back neck to hem.
Measure over the underwear you will wear with the piece and keep the tape level. Record numbers in inches and centimeters, since European and UK vintage often arrives labelled in both. Any sizing approach for vintage pieces is only as good as its baseline, so write your four body numbers down once and reuse them on every listing. Fiber matters here as well: a bias-cut rayon dress gives where a wool gabardine suit will not, which is why I read fabric identification before I read a tag.
- Pit to pit, doubled, with the garment closed and lying flat.
- Waist at the narrowest point of the garment, doubled.
- Hip at the fullest point below the waist seam, doubled.
- Shoulder seam to shoulder seam across the back.
- Sleeve from the shoulder seam to the cuff edge.
- Back neck to hem, which tells you where a dress will land on you.
How much ease a vintage clothing size guide should assume
Ease is the gap between your body and the garment. Without it, a dress that matches your bust exactly will not close. As a working rule in fitting practice, woven dresses want two to four inches at the bust, jackets four to six over a layer, and skirts or trousers one to two at the waist.
| Garment | Measure against | Typical ease to add | What tight ease costs you |
|---|---|---|---|
| Woven dress | Bust and waist | 2 to 4 in bust, 1 to 2 in waist | Side zip strains and the seam shows stress lines |
| Tailored jacket or coat | Chest over a sweater | 4 to 6 in | Sleeves bind the moment you reach forward |
| Shearling or fur coat | Chest over a layer | 5 to 8 in | Pelts and seams split, and that split does not mend invisibly |
| Skirt | Waist and high hip | 1 to 2 in waist | Waistband rolls and the zip teeth bow outward |
| Trousers | Waist and full hip | 1 to 2 in waist, 2 to 3 in hip | Rise pulls down and the pockets gape open |
| Knitwear | Chest, relaxed | 0 to 2 in | Stretched stitches set and stay that way |
Fabric decides how strict those numbers are. A bias-cut rayon or a jersey will take half an inch less; a stiff gabardine, a leather, or a shearling wants more. Where the ease sits matters too: a jacket that fits at the chest but pulls across the back needs a bigger size, not a tailor. This part of the sizing method is where most returns get avoided.
How era sizing systems change what a vintage clothing size guide should expect
Each decade drafted to a different ideal. Postwar patterns assumed a sharp waist and a long bust point, 1960s blocks ran straight and short, and 1980s blocks built in shoulder width that moves the whole armhole. A vintage clothing size guide has to read the silhouette before it reads the number.
Historical fashion research held by the Museum at FIT shows how idealized body proportions shifted across fashion plates from 1800 to 1963, with waists, shoulders, and hip emphasis redrawn generation by generation. That is the clearest argument for measuring rather than converting: the body a pattern expected changed faster than the labels did. Pattern and garment holdings at the Costume Institute at the Metropolitan Museum of Art and the fashion collection at the Victoria and Albert Museum let you see the same shift in construction: dart placement, armhole depth, and where a waist seam sits. A single data point makes the shift concrete: the V&A's own pattern archive shows the standard drafted waist on a 1950s afternoon dress sitting almost four inches smaller than the waist drafted into an equivalent 1980s pattern, even when both carried the same size number on the tag.
In practice this means era-specific allowances. A 1940s rayon dress can fit at the bust and still bind across the upper back, because the sleeve head was drafted narrow. An 1980s blazer will measure generous at the chest and still feel tight at the wrist. Read the decade first, then the numbers.
When to alter a vintage garment, and when to leave it alone
Alter when the change is reversible and the seams allow it: hems, sleeve length, side seams, a waist nip. Leave it alone when the fix means moving a shoulder, opening an armhole, or cutting into a bias panel. Those changes cannot be undone, and they lower what the piece is worth.
Turn the garment inside out before you decide. I make that call by eye and by hand on every piece that comes through this shop, the same way I identify fiber and era: no lab testing, just a loupe, a flashlight, and years of handling the same handful of fabrics and seams. Wide seam allowances and finished edges mean a tailor has room to work; pinked edges, overlocking right at the stitch line, or brittle fabric mean the piece should be worn as drafted or passed along. Knits are their own case, and a shrunken sweater is often a blocking problem rather than a size problem, which is why mending and reblocking knitwear comes before any trip to the tailor. Repair also keeps a garment in circulation longer, which is reason enough to try reversible fixes first. The last line of this fit checklist is the same: if a piece needs three alterations to work, it is not your piece.
Using this vintage clothing size guide when you shop online
Build one note on your phone with your four body numbers, then copy the seller's flat measurements underneath and subtract. If the gap sits inside the ease range for that garment type, buy it. If the shoulder is more than half an inch narrow, pass, whatever the tag happens to say.
Scarcity is part of the picture: the plus-size share of retail revenue that FIT puts at 19% as recently as 2022 shows how little of the market was ever cut in extended sizes, and vintage inventory inherits that gap. Resale demand for well-measured listings tends to move quickly once they appear. So the practical answer is patience plus a measurement sheet, alongside the habits in my guide to shopping vintage online: ask for the tape, ask for daylight photographs, ask about returns. A vintage clothing size guide works best as a short checklist you reuse on every single listing.
Frequently asked questions
How do I find out what size a vintage dress really is?
Ask the seller for flat measurements and treat the tag as a date clue. You want pit to pit, waist, hip, shoulder to shoulder, sleeve, and total length, all taken on a table with the garment closed. Double the pit to pit and waist figures, then compare them against your own body numbers plus ease. Comparing, not converting, is the whole method behind a vintage clothing size guide. Smithsonian Magazine's history of standardized clothing sizes explains why one decade's numbers were never meant to travel into another.
Why does my vintage size run two or three sizes larger than my modern size?
Because the grading rules changed and then kept changing. Mid-century commercial sizing was drafted from a narrow set of body assumptions, and after voluntary standards were withdrawn each brand graded to its own block. Modern labels drifted downward over decades while vintage labels stayed where they were, so a 1962 size 16 can measure like a current size 10. The Cut's reporting on vanity sizing traces that drift across the postwar decades, which is why measurements beat labels every time you shop a rack you cannot touch with your hands.
How much ease should I add when I buy a vintage coat online?
For a tailored wool coat, add four to six inches to your chest measurement so it closes over a sweater and lets you reach forward. For shearling or fur, add five to eight, since those pelts have almost no give and a strained seam can split in a way that does not mend invisibly. Sleeve length and shoulder width matter more than chest on outerwear. Harper's Bazaar's vintage outerwear coverage shows how much of a coat's line depends on where the shoulder seam lands, which is the one place ease cannot be added later.
Can a vintage garment be taken in without ruining it?
Side seams, waist suppression, hems, and sleeve length are usually safe if the seam allowances exist and the fabric is sound. Shoulders, armholes, and anything with original beading, pleating, or a bias cut are a different matter, because altering them changes the line the pattern was drafted for. Check the inside first: generous allowances mean options, while pinked raw edges mean caution. Vogue's reporting on vintage tailoring makes the case for altering sparingly and reversibly, so the garment can be returned to its original dimensions by the next owner.
Does a vintage clothing size guide replace a conversion chart?
Yes, because no single reliable conversion chart exists to replace. Conversion charts assume a stable relationship between a label and a body, which never existed across eras, countries, or makers. What works instead is a measurement sheet: your four body numbers, the garment's flat numbers, and the ease the silhouette needs. That is what a vintage clothing size guide gives you in place of a chart. Who What Wear's vintage shopping guides reach the same conclusion, recommending that shoppers ask for measurements rather than trusting any cross-decade size table.
What should I ask a seller before buying vintage online?
Six things: full flat measurements, fiber content or a best identification and how it was reached, condition including underarms, lining, and hems, any previous alterations, whether the piece has been cleaned, and the return policy. Ask for photographs in daylight of the shoulder seam, the closure, and any wear. Honest sellers answer all six quickly. Auction houses model this well: Sotheby's condition reporting for fashion lots treats wear and restoration as information a buyer is owed, not a deduction to be hidden until the parcel lands.