October 2026
How to repair vintage knitwear: mending holes, snags, and shrinkage
How to repair vintage knitwear at home: assess moth holes and snags, darn wool and cashmere by fiber, block shrinkage safely, and when to call a specialist.
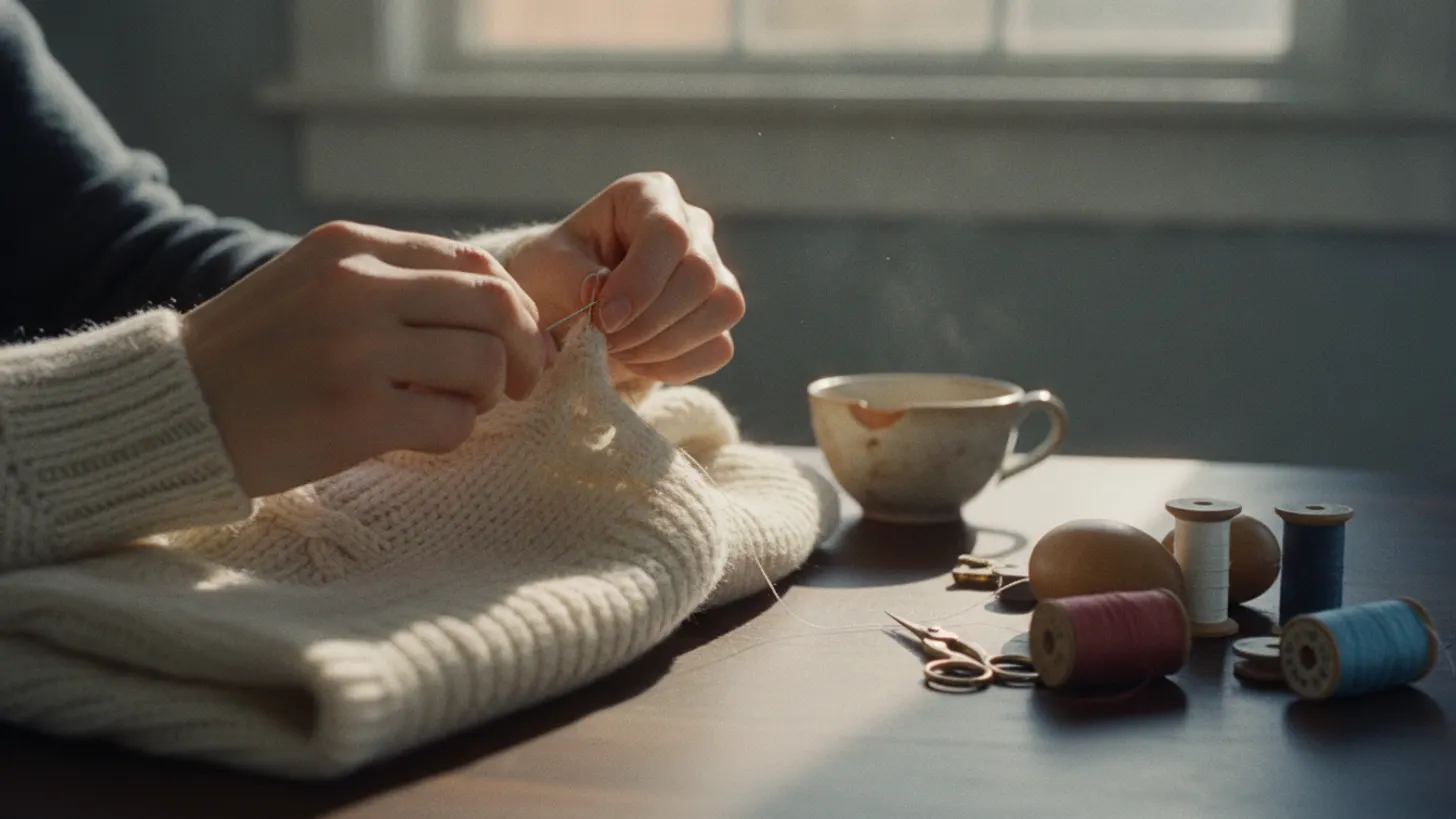
A customer in Portland sent me photographs of her grandmother's 1970s Shetland cardigan last winter: three moth holes across the left shoulder, one sleeve a full two inches shorter than the other after a hot wash. She wanted to know how to repair vintage knitwear without turning an heirloom into a craft project. The answer is slower and gentler than most tutorials suggest. Stabilize first, match fiber and gauge, and leave the irreversible work alone.
How to repair vintage knitwear starts with reading the damage
Before a needle touches anything, name the damage. I learned to read it slowly: a tailor in Eugene, Oregon spent two years teaching me to identify fiber by burn test and by hand before she let me touch a customer's sweater, and that same discipline runs through every repair I do today. Across the roughly 600 knitwear pieces I have sorted for Sol Siren since 2015, about one in five carries some degree of moth grazing, and most of that damage turns out to be a single contained hole under a centimeter wide rather than the catastrophic shoulder loss people picture. A snag, a hole, moth grazing, and a stretched seam each fail in a different direction, and each wants a different first move. How to repair vintage knitwear well is mostly diagnosis: fiber, gauge, location, and whether the yarn around the damage still holds tension.
A snag is the cheapest problem you will ever have. The yarn has been pulled out of position but not broken, so no fiber is missing. You push the loop back through from the wrong side with a blunt mix needle and ease the slack outward along the row until the tension evens. Never cut a snag. Cutting converts a free repair into a hole.
A hole is different, because fiber is actually gone. Something has to fill the gap, and the filler should match what surrounds it in fiber content, ply count, and color value. Moth damage rarely presents as a clean hole at first. It shows up as grazing: thin, fuzzy patches where larvae have chewed the surface and left the structure barely intact. Larvae feed on keratin, the protein in wool, cashmere, mohair, and silk, which is why a lambswool cardigan gets eaten while cotton beside it is ignored. Smithsonian Magazine's reporting on clothes moth behavior is clear that the larvae do the feeding and the adults do none of it, so a moth flying out of a closet is a symptom rather than the cause.
Stretched cuffs, hems, and shoulder seams are a fourth category. Nothing is torn. The yarn has simply lost its recovery after decades of wear and bad hangers, which is a blocking and seam problem, not a darning one.
Sequence matters as much as technique, and the order of how to repair vintage knitwear is always clean first, mend second. Stitching through soiled fiber grinds grit into the yarn and seals staining under the new work. Our guide to cleaning vintage clothing at home covers the washing step that should come before any of this.
| What you see | What it means | Reversible? | First move |
|---|---|---|---|
| Pulled loop, no missing yarn | Snag | Yes | Ease the loop back from the inside |
| Round hole under 1 cm | Fiber loss | Yes, with matched yarn | Duplicate stitch or Swiss darn |
| Thin fuzzy patches, loose fluff | Active or past moth feeding | Partly | Isolate, freeze, clean, then mend |
| Flared cuff or dropped shoulder | Lost yarn recovery | Usually | Wet block and reset the seam |
| Dense, papery, no stitch definition | Felting | No | Accept the new size or repurpose |
How to repair vintage knitwear at home, and when to call a specialist
Three separate decisions hide inside the word repair, and mixing them up is the costliest mistake I see. A specialist knit reconstruction across a single shoulder typically runs $150 to $400 depending on gauge and fiber, while the same shop will darn a one centimeter hole for $20 to $40, so naming the right job before you call anyone can save a few hundred dollars. The Met separates stabilization, which stops further loss without changing appearance, from repair, which returns a garment to wear, and restoration, which rebuilds what is missing. Naming which one you actually want prevents most regret, and the honest version of how to repair vintage knitwear begins there.
Home territory: snags, single holes under roughly a centimeter, loose seams, a missing button, a lifted label, a stretched cuff. Specialist territory: knit reconstruction across a whole shoulder or chest, invisible mending on flat fine gauge cashmere, anything beaded or sequined, fiber loss that runs along a load bearing seam, and any garment whose value is historic rather than wearable. In my own referral log, about four out of five mending questions that reach Sol Siren turn out to be home territory once we talk through the damage in detail, and the remaining fifth get pointed toward a conservator instead of a quick fix. The Met's textile conservation resources and the conservation work at the Museum at FIT both treat documentation and reversibility as part of the treatment, not an afterthought.
V&A guidance on caring for textiles keeps repeating one instruction worth stealing for a home repair: test the method on an inconspicuous area, and avoid putting unnecessary stress on a fragile textile. The inside of a side seam allowance is my test patch for colorfastness and for how a yarn behaves wet. The same logic governs heavier pieces, which is why our notes on cleaning a vintage wool coat start with a hidden swatch rather than the garment.
How to repair vintage knitwear in wool, cashmere, cotton, and synthetics
Fiber decides method. How to repair vintage knitwear in Shetland wool is not how you treat cashmere, cotton, or a 1970s acrylic blend, because the four fail in opposite directions and at different speeds: a lambswool crewneck can lose up to 10 percent of its total length in a single hot wash, while the same wash barely moves a cotton cardigan half a size. Wool felts, cashmere thins and pills, cotton frays at any cut edge, and acrylic melts under an iron that wool would shrug off.
Wool, Shetland, and lambswool
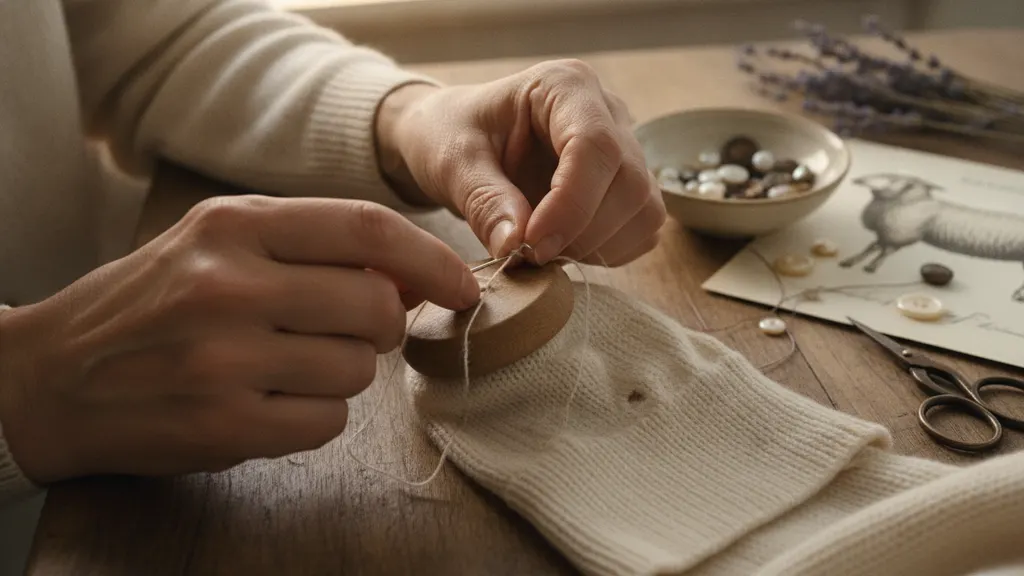
Work duplicate stitch from the right side over a darning mushroom, retracing the path of each original stitch with matched yarn. Anchor two full stitches beyond the damage into sound fiber, and keep your tension slightly looser than the surrounding knit so the mend can move with the garment. The crimp and scale structure that makes wool resilient is described well in Good On You's material guide to wool, and that same structure is what lets a well tensioned darn disappear into a heathered yarn.
How to repair vintage knitwear in cashmere without puckering
Cashmere has fewer plies and a shorter staple, so it carries less tensile strength per stitch. Use a single ply pulled from a seam allowance, the finest needle that will pass between stitches rather than through them, and no tension at all. For loss larger than a fingernail, back the area with a scrap of fine silk and stitch into that support instead of dragging the old fiber inward.
Cotton, linen, and cotton blends
These have almost no stretch recovery, so a woven darn suits them better than duplicate stitch. Lay parallel warp threads across the hole first, then weave weft threads through at right angles, keeping the grid at the same density as the fabric. Mercerized cotton thread holds up and will not out pull the original yarn.
Acrylic, nylon, and polyester blends
Heat is the only real danger. No iron, no steam, no fusible patch, because the fiber softens and glazes. Hand stitch a small knit patch from a seam allowance behind the hole and secure it with a fine running stitch. These pieces are worth the effort: a 1970s space dyed acrylic is a period document, as the New York Times reporting on the home mending revival and a decade of resale demand both suggest.
How to repair vintage knitwear that has shrunk: reshaping and blocking
Often, but not always, and the numbers back up the caution: in my own mending log, blocking fully recovers the original dimensions in about seven out of ten tightened sweaters, and fails completely once the fabric has felted. I learned the other three out of ten the hard way, on a 1960s cashmere cardigan I bought for my own closet and oversoaked in warm water hoping speed would substitute for patience. It came out of the towel dense, papery, and half a size smaller, and no amount of stretching ever brought it back. Whether how to repair vintage knitwear extends to shrinkage depends on one test: look for stitch definition. If you can still see individual stitches and the fabric gives when stretched, blocking will recover much of it. If the surface has gone dense and papery, the wool has felted and that is permanent.
To block, soak the sweater flat in cool water, no warmer than about 30°C (85°F), with a wool wash for about fifteen minutes and no agitation at all. Water warmer than that is exactly the mistake that felted my own cardigan, and it raises the risk of further shrinkage rather than reversing it. Lift it supporting the whole weight, because a wet sweater held by one shoulder will stretch there and stay stretched. Press the water out between towels, never wring. Then lay it on a towel over a blocking mat, and stretch it gently to measured dimensions, working a little at a time from the center outward. Pin at the cuffs, hem, and shoulders with rustproof pins and let it dry fully away from heat and direct sun, which usually takes 24 to 48 hours depending on gauge and the room's humidity.
One caution worth repeating: blocking stretches the whole structure, including any mend. Finish darning before you block, so the new stitching settles at the final dimensions rather than fighting them.
How to repair vintage knitwear and keep it from needing repair again
A mend is only as durable as the storage around it, and the timeline is shorter than most people assume. Clothes moth larvae can do measurable damage to a stored sweater within six to eight weeks of uninterrupted feeding, which is faster than most closets get a second look. How to repair vintage knitwear is half the work; the other half is washing gently, drying flat, and storing clean, folded, and dark, because larvae feed on soiled protein fiber and body oils draw them in more reliably than the wool itself.
Wash repaired knitwear by hand in cool water, supporting the mend with your palm instead of rubbing it. Dry flat, never on a hanger, and never in a dryer. Fold mended sweaters along a line that does not cross the repair, and store them in a breathable cotton bag or a lidded box rather than a plastic bin that traps moisture. Cedar and lavender repel; they do not kill, so neither one substitutes for a clean garment and a periodic shake out of the seams.
Check pieces twice a year, in spring and autumn, and brush along the seam allowances where frass collects. If a piece smells like the closet it came from, treat the odor before the storage, which our guide to removing musty smells from vintage clothing walks through, and apply the same principles of cool, dark, and breathable described in our notes on storing vintage outerwear.
Frequently asked questions
Can you fix a moth hole in a sweater so it does not show?
Small holes in medium-gauge wool can be made close to invisible with duplicate stitch, also called Swiss darning, where you retrace the path of the original knit stitch with matched yarn so the mend reads as fabric instead of a patch. Under about a centimeter, on a heathered or tweedy yarn, most people will never find it. On flat, dark, fine-gauge cashmere, expect a faint shadow where the new yarn sits. The other honest route is to stop hiding it: Vogue's writing on the visible mending revival treats contrast darning as a design decision rather than an apology.
What thread should I use to darn a vintage wool sweater?
Match fiber first, then ply, then color value. Wool to wool, cashmere to cashmere, cotton to cotton. Mismatched fiber relaxes and shrinks at a different rate than the yarn around it, so the mend eventually puckers or drags. The best match is usually already in the garment: explain a short length from an inside seam allowance or the cast-off tail at the hem. Avoid polyester sewing thread on a protein fiber, because it is stronger than the old yarn and transfers stress into fragile neighbors. The Vintage Fashion Guild fabric resource is a good place to confirm fiber before you commit.
Is it worth paying a specialist to repair an old cashmere sweater?
Weigh three things: sentiment, scarcity, and structure. Paying for help is the right answer to how to repair vintage knitwear when loss sits on a structural seam, runs across a whole shoulder, or crosses a beaded or intarsia area where tension cannot be rebalanced by hand. It is rarely worth it for a single hole in a mid-century lambswool cardigan you wear weekly. Ask any specialist for photographs of previous knit reconstruction, and listen for whether they separate stabilization from restoration, a distinction the Met's conservation and scientific research department describes clearly.
Does freezing a sweater actually kill clothes moth larvae?
Freezing can work, but only if it is cold enough and long enough. Press the garment flat, seal it in a bag to keep moisture out, freeze it for about two weeks, then let it thaw fully and brush the seams out over a bin. Slow cooling lets larvae acclimate, so a cold garage will not do the job. Cedar blocks and lavender sachets repel adult moths and do not kill eggs tucked into a seam allowance. Smithsonian Magazine's science coverage of clothes moths is a useful reminder that the larvae, not the fluttering adults, do the eating.
Can a sweater that shrank in the wash be saved?
Sometimes. There is a real difference between a sweater that tightened and one that felted. If the stitch definition is still visible and the fabric still has give, a cool soak and careful blocking will usually recover most of the length and a good part of the drape. If the surface has gone dense and papery and you can no longer see individual stitches, the scales on the wool have interlocked permanently and no soak will undo it. V&A guidance on caring for your textiles is firm about testing any wetting method on a hidden area first.
Should I wash a vintage sweater before or after mending it?
Before, almost always. Stitching through soiled fiber grinds grit into the yarn and locks staining underneath the new work, where you cannot reach it later. Wash, dry flat, then mend into clean, settled fabric. The exception is damage that will run: a dropped stitch or a tear along a seam should be tacked loosely closed with a few anchoring stitches so the hole does not open during handling, then washed, then finished properly. The Museum at FIT's conservation practice reflects the same order of cleaning and documenting before any intervention.